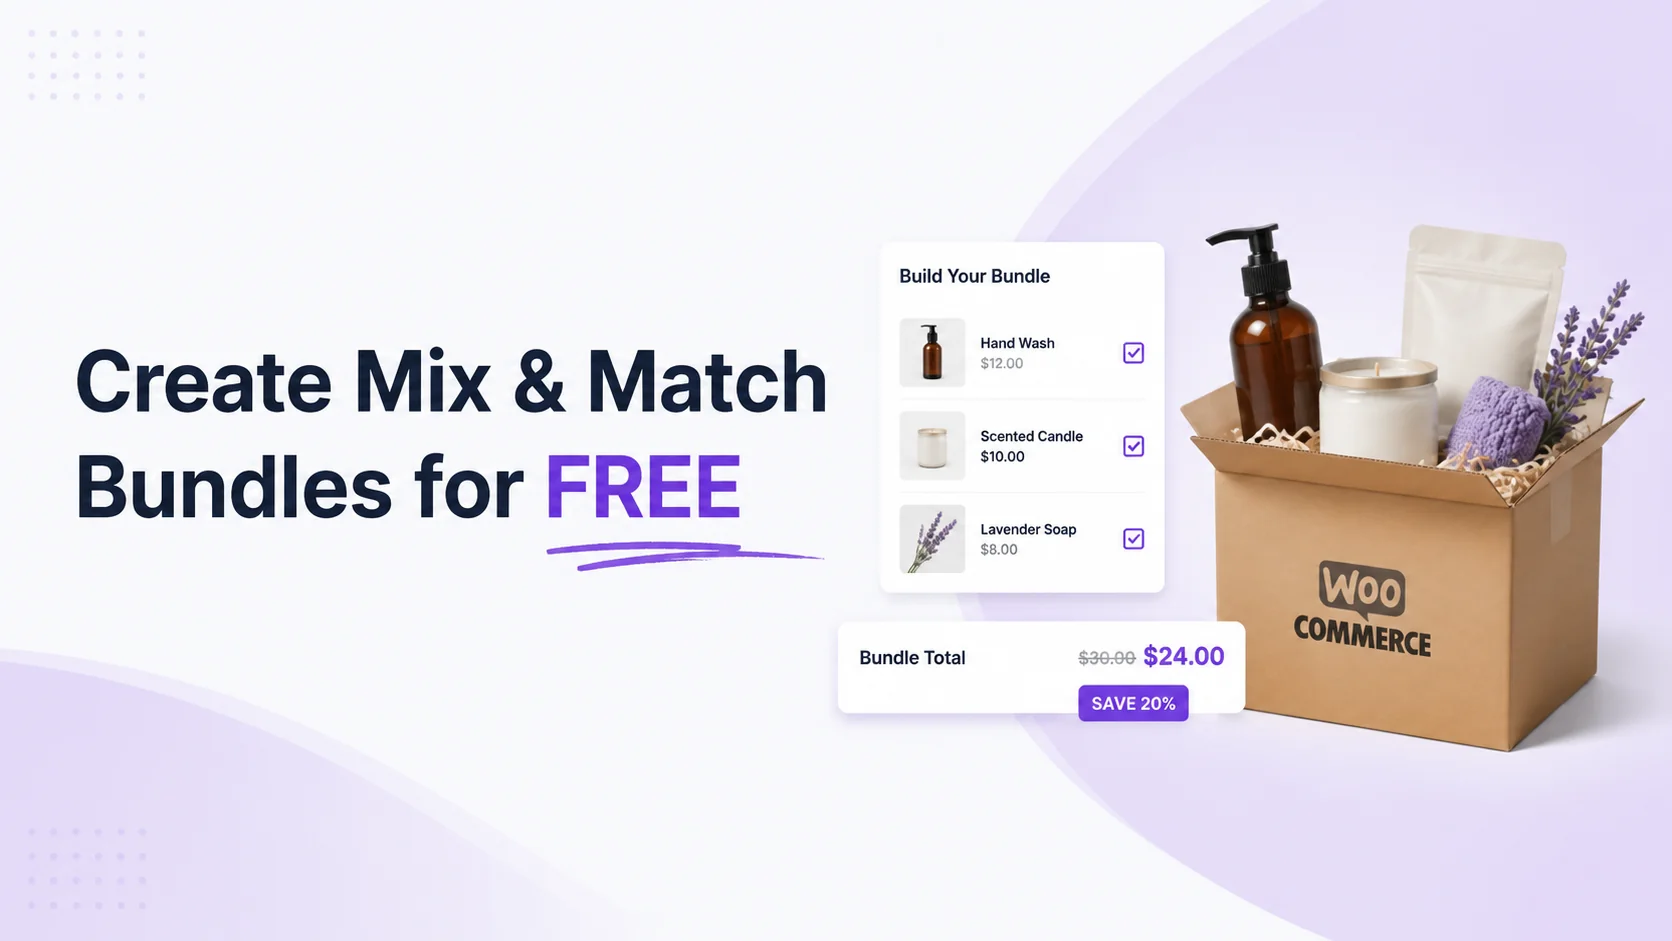
WooCommerce can sell products in a lot of ways. Simple products, variable products, grouped products, downloadable products, external products. All useful.
But if you want customers to build their own bundle, WooCommerce core does not give you that out of the box.
That is where mix and match bundles come in. A customer can choose from a set of products, build a custom box, and buy everything as one bundle. Think custom tea boxes, self-care kits, pet starter packs, snack boxes, coffee samplers, stationery sets, and small gift bundles.
The good part: you can create a basic mix and match bundle in WooCommerce for free. You just need the right plugin and a setup that does not depend on premium-only features.
For this guide, we’ll use Product Bundle Builder for WooCommerce, also listed as Easy Product Bundles for WooCommerce by AsanaPlugins. The free version is enough for a basic mix-and-match bundle using selected products. Some advanced controls are Pro-only, so those limits are covered before the tutorial goes too far.
What is a mix and match bundle in WooCommerce?
A mix and match bundle lets shoppers choose items from a set of allowed products and purchase the selection as one bundle.
Instead of forcing one fixed box on everyone, you give customers controlled flexibility. You still decide which products can appear in the bundle. The customer decides which ones they want.
For example, imagine a “Create Your Own Gift Box” product. The customer can choose one main gift item, one sweet treat, and one small extra. One shopper might pick a scented candle, chocolate box, and greeting card. Another might choose handmade soap, a cookies pack, and a keychain accessory.
Both customers buy the same bundle product, but the contents are different.
How it differs from other WooCommerce product types
A fixed bundle is chosen by the store owner. The customer buys the exact set you prepared.
A grouped product shows multiple products together, but it does not feel like one guided custom-box builder. It is more like placing several separate products on one page.
A variable product lets customers choose variations of one product, such as size or color. That is not the same as choosing several separate products for a box.
Product add-ons are useful for extra fields, upgrades, or customization options. But they are not always the cleanest way to let customers pick actual WooCommerce products into a bundle.
Mix and match bundles sit in the middle. You control the product pool. Customers build the final combination.
Can you create mix and match bundles in WooCommerce for free?
Yes, but not with WooCommerce core alone.
WooCommerce does not include a native mix-and-match product type. You need a plugin that adds bundle logic, product selection fields, pricing behavior, and frontend display.
The free plugin I recommend for this tutorial is Product Bundle Builder for WooCommerce by AsanaPlugins: https://wordpress.org/plugins/easy-product-bundles-for-woocommerce/
Product Bundle Builder for WooCommerce adds the bundle workflow WooCommerce is missing. You can create a bundle product, add selectable products, control item quantities, and choose how the bundle price should work.
That said, you still need to be careful. The free version is enough for a basic mix-and-match bundle using specific products. More advanced features, like category-based product sources, optional bundle items, variation products, and total quantity limits, are listed under Pro on the current WordPress.org page.
Best free plugins for WooCommerce mix and match bundles
Before jumping into the tutorial, here are the free options worth knowing. I’m keeping this short because the goal is not to turn this into a huge plugin roundup.
| Plugin | Best for | Free mix-and-match support | Discount support | Main limitation |
| Product Bundle Builder for WooCommerce | True mix-and-match bundles and product boxes | Yes, confirmed on WordPress.org | Item discounts, fixed whole-bundle price, auto-calculated price | Advanced sources and optional items are Pro-only |
| WPC Product Bundles for WooCommerce | Simple smart bundles and curated kits | Limited for true mix-and-match use | Percentage/fixed bundle discounts | Variable products/specific variations require Premium |
| BundlePress | Newer bundle and custom-box style offers | Promising, but less proven | Bundle, volume, and offer-style discounts | Fewer reviews and some stronger features appear Pro-tied |
Why Product Bundle Builder is the best free choice here
For this tutorial, Product Bundle Builder for WooCommerce is the cleanest free pick. It is a real bundle builder, not just a cart discount plugin, and it gives store owners the controls needed to build a basic customer-selected product box.
That matters because “free” bundle plugins often support only fixed kits. They can combine products, but they do not always let customers choose between product options in a proper mix-and-match flow.
Product Bundle Builder gives you enough to build a basic custom box with specific products, item-level quantity controls, item discounts, fixed or dynamic pricing, display settings, and shortcode fallback.
Why mix and match bundles are worth trying
Mix and match bundles work because they give customers a little control without making the buying process messy.
Personalization matters. Epsilon reported that 80% of consumers are more likely to make a purchase when brands offer personalized experiences.
A custom bundle is a simple version of that. You are not building a full personalization engine. You are letting shoppers choose the version of the box that feels right for them.
It can also help average order value. Salesforce lists product recommendations, discounts, and threshold-style offers as practical ways to increase cart size and AOV.
Bundles fit naturally into that strategy because they guide customers toward buying more than one item in a single order.
Before you start
Do this prep first. It saves headaches later.
- Install and activate WooCommerce.
- Install Product Bundle Builder for WooCommerce by AsanaPlugins.
- Create the individual products customers will choose from.
- Make sure each product is published.
- Add prices, product images, and stock settings.
- Check that each product is purchasable.
- Test your cart and checkout once before building the bundle.
The bundle product pulls from regular WooCommerce products. If a product is still in draft, missing a price, hidden from the catalog, or out of stock, it can disappear from the customer-facing bundle or behave strangely.
For the example in this guide, I’ll use a “Create Your Own Gift Box” bundle. It will include choices like candles, soaps, greeting cards, chocolates, mugs, and small accessories. This is just an example. You can use the same setup for snack boxes, skincare kits, pet starter kits, stationery packs, or food bundles.
Step-by-step: create a mix and match bundle for free in WooCommerce
Step 1: install the free bundle plugin
From your WordPress dashboard, go to Plugins > Add New.
Search for “Product Bundle Builder for WooCommerce” or “Easy Product Bundles for WooCommerce.” The plugin is by AsanaPlugins.
Install it, then activate it.
After activation, the plugin adds a new Product bundle product type to WooCommerce. It also adds Product Bundles settings in the dashboard. You will use both in this tutorial.
Step 2: prepare the products customers can choose
Create the normal WooCommerce products first. Do not start with the bundle page. The bundle needs real products to pull from.
For the “Create Your Own Gift Box” example, you might create these products:
- Scented candle
- Handmade soap
- Greeting card
- Chocolate box
- Ceramic mug
- Keychain accessory
- Mini notebook
- Gift ribbon set
- Small plush toy
Add product images and prices for each item. Set stock if your store tracks inventory.
This step sounds basic, but it matters. A bundle builder is only as clean as the products behind it. If the source products are messy, the bundle will feel messy too.
Step 3: create the main bundle product
Go to Products > Add New and create the product customers will visit. Give it a clear name, such as “Create Your Own Gift Box.” Add a product image and a short description that explains what customers can build.
In the Product data panel, select Product bundle as the product type. After that, the plugin will show a Product Bundles tab. That is where you add the items customers can choose from.
Step 4: add the products customers can pick
Open the Product Bundles tab and click Add Bundle or Add Item. Each item works like one section of the bundle.
For a gift box, you can create simple sections like “Choose the main gift,” “Pick a sweet treat,” and “Add a small extra.” Use the Default Product field for the first selected product, then use the Products field to add the other choices.
For example, the main gift section can include a candle, soap, or mug. The sweet treat section can include chocolate, cookies, or candy. The extra section can include a greeting card, mini notebook, or keychain.
For the free version, keep this simple and use specific products. Category or tag-based product sources are Pro features, so they are better left out of the free setup.
Step 5: set the basic quantity and discount rules
For each bundle item, set the default quantity. If shoppers should be able to change quantities, enable the editable quantity option and set a minimum and maximum per item.
You can also add an item discount if the bundle needs one. Keep the discount simple so customers understand the deal quickly.
If the labels on the product page feel unclear, use the item Display tab to rename the bundle sections. You do not need to touch every design field. Just make sure the customer understands what to pick.
Skip optional-item logic in the free tutorial. Optional items are a Pro feature, so the basic free setup should use fixed bundle sections.
Step 6: choose how the bundle price works
The plugin gives you two useful pricing options. You can set one fixed price for the whole bundle, or you can let the plugin calculate the price from the selected products.
Use fixed pricing if you want a simple offer like one gift box price. Use auto-calculated pricing if the product choices have different prices.
Also check the shipping setting. The plugin can calculate shipping for the whole bundle or for the bundle items. Pick the option that matches how your store ships products.
Step 7: publish and test the bundle
Publish the product and open it on the frontend. Select different products, change quantities if you allowed it, and add the bundle to cart.
Check the final price, discount, stock behavior, shipping, and checkout total. If the bundle does not appear in the right place, check the Product Bundles settings in the dashboard or use the shortcode fallback mentioned below.
Other bundle ideas you can use
Once the gift box setup makes sense, the same structure can work for other store types. Keep the bundle sections simple and use specific products in the free version.
Snack box example: let customers choose chips, cookies, nuts, protein bars, dried fruit, or small sweets.
Skincare kit example: let customers choose a cleanser, toner, moisturizer, face mask, serum sample, or sunscreen.
Pet starter kit example: let customers choose treats, a toy, grooming brush, food sample, waste bags, or a small collar accessory.
If you need optional items, such as “add a greeting card only if the customer wants it,” check the Pro plan first. Optional items are listed under Pro on the current WordPress.org page, so do not build your free setup around that feature.
Free vs Pro limitations
This is the part you should read before spending an hour building a complicated bundle.
The free version is useful, but it is not unlimited. Here’s what you should consider.
Free version is enough for
- Creating mix-and-match products
- Using the Product bundle product type
- Adding bundle sections through the Product Bundles tab
- Choosing a Default Product
- Adding specific product choices through the Products field
- Setting item quantities
- Allowing editable quantities
- Setting min/max quantity per item
- Adding item-level discounts
- Using fixed whole-bundle pricing
- Using auto-calculated pricing
- Configuring shipping behavior
- Changing display labels and popup text
- Using shortcodes
Pro is needed for or may be needed for
- Variation products
- Category-based product sources
- Tag-based product sources
- Excluding products, categories, or tags
- Optional bundle items
- Multiple themes and size controls
- Fixed price per bundle item
- Gallery popup
- Quick view popup
- Total min/max quantity across all bundled items
So the safest free setup is this: use specific products, create clear sections, set item-level quantities, and choose either fixed bundle pricing or auto-calculated pricing.
If your idea depends on categories, optional slots, variations, or exact total box quantity rules, check the Pro plan before you write the product copy around that promise.
Troubleshooting
The bundle does not show on the product page
First, confirm that the product type is set to Product bundle. Then check that you actually added items inside the Product Bundles tab.
If the setup looks correct, try the shortcode method. Some themes place WooCommerce elements differently, and shortcode placement can be a cleaner fallback.
Some products are missing from the selection
Check the source products. They should be published, priced, purchasable, visible, and in stock.
If a product is hidden or unavailable, do not expect it to appear properly inside the bundle.
The price looks wrong
Check whether you are using fixed whole-bundle pricing or auto-calculated pricing. Then review item discounts and the regular/sale prices of the products inside the bundle.
If you are using coupons, also check the plugin’s coupon apply method so discounts do not stack in a way you did not expect.
Quantity controls are not working as expected
Check the Quantity field, the user-editable quantity setting, and min/max quantity values per item.
Do not confuse per-item quantity limits with total bundle quantity limits. Total quantity limits are listed as Pro on the current WordPress.org page.
The design looks off
Go to the Product Bundles settings area in your dashboard and review Item View, popup settings, Styles, product page position, and CSS selector settings.
Small changes to labels, image display, and section titles can make the bundle feel much easier to use.
Best practices for better bundle sales
Do not turn the bundle into a product maze. A 3-section bundle with 2 to 4 choices per section is easier to buy than a giant wall of options.
Use section titles that guide the shopper. “Choose a gift item” is better than “Item 1.” “Pick a snack” is better than “Bundle option.”
Use fixed pricing when the offer needs to feel simple. Use auto-calculated pricing when the product choices have very different prices.
Show the savings clearly if you use a discount. Do not make customers do math.
Use strong product images. Mix-and-match bundles sell better when the customer can imagine the final box.
Start with one bundle. Watch how customers interact with it. Then build more.
Final recommendation
If you want to create mix and match bundles for free in WooCommerce, start with Product Bundle Builder for WooCommerce.
It gives you the core pieces you need for a basic customer-built bundle: a Product bundle product type, bundle sections, default products, selectable product choices, item quantities, item discounts, fixed pricing, dynamic pricing, display controls, and shortcode fallback.
Just keep the first version simple. Use specific products. Avoid Pro-only features in your free walkthrough. Test the cart and checkout properly.
Once the first bundle starts getting orders, then decide whether you need advanced features like category-based choices, optional slots, variation products, or total quantity rules.
That is the practical path: build one clean bundle, test it, and improve from real customer behavior.

1 thought on “Create mix and match bundles for free in WooCommerce”